How to Make Maps in Roll20: Four Ways from Free to Fast
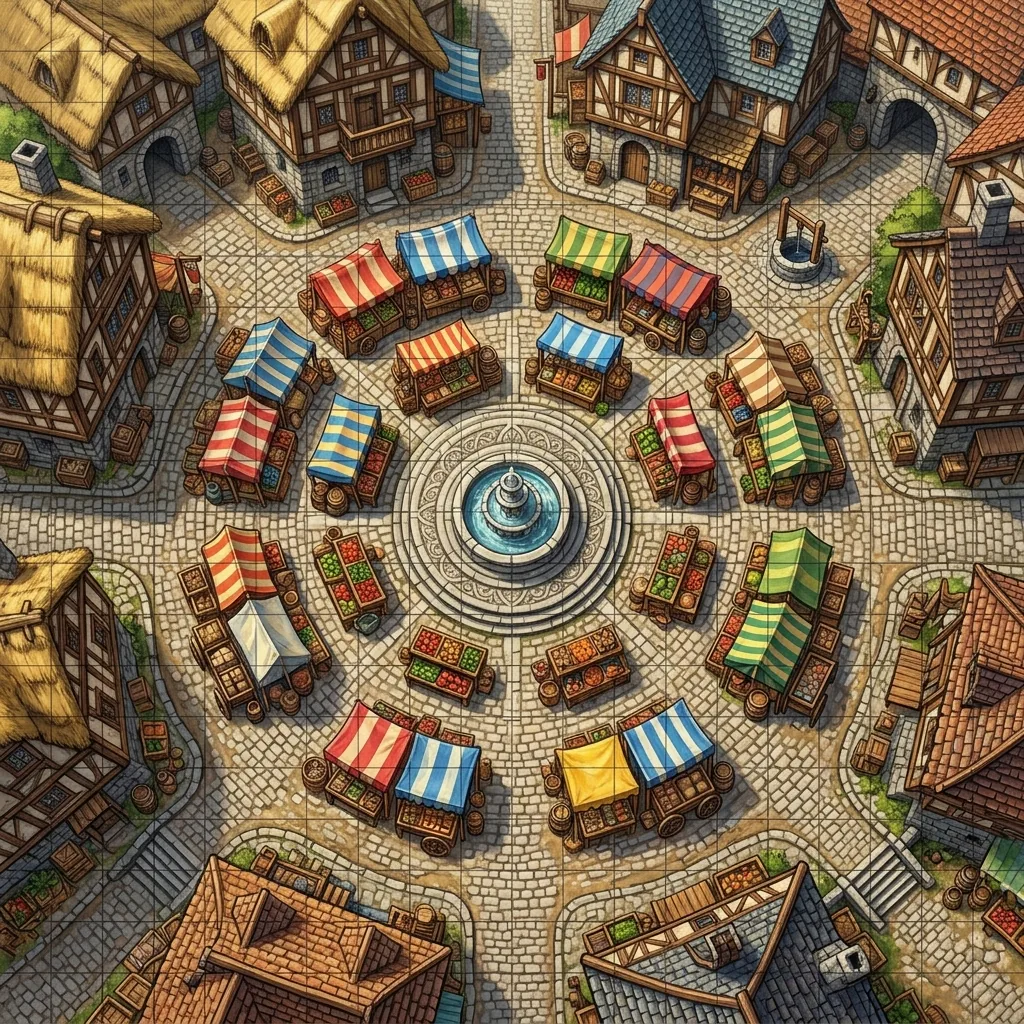
Figuring out how to make maps in Roll20 is one of the first real hurdles for a new Game Master. The platform hands you a blank gray page, a toolbar, and very little guidance, and your first session is probably days away. Should you draw something yourself, buy an asset pack, build the map in an external editor, or generate one with AI? Every route works, and every route has a genuine cost in money, time, or creative control that nobody explains up front.
In this tutorial, we will walk through four ways to make a map on Roll20, from completely free to nearly instant, with honest pros, cons, and time estimates for each. Then we will finish with the grid setup steps that every method shares, because a gorgeous map that does not line up with the grid will derail your combat faster than any rules argument.
Method 1: Roll20's built-in drawing tools
Roll20 ships with a set of drawing tools on the page toolbar: freehand lines, polygons, rectangles, and ellipses, plus fill colors. Working on the Map & Background layer, you can rough out a dungeon in gray rectangles, drop a brown polygon for a wooden platform, and scribble a river along one edge. It is the digital equivalent of sketching on a wet-erase battle mat, and for plenty of tables that is genuinely enough.
The advantages are real: it costs nothing on any account tier, it needs no external software, and it is the only method fast enough to use mid-session when your players wander somewhere you never planned. The drawbacks are equally real: the results look like colored shapes rather than terrain, there are no textures or lighting, and drawing precise shapes with a mouse gets fiddly. Budget five to fifteen minutes for a usable sketch. This method shines for improvised encounters and quick dungeon outlines, and it stops shining the moment you want your table to feel immersed.
Method 2: marketplace asset packs and tile sets
The Roll20 marketplace sells professional map packs, tile sets, and token art, and it lists free packs alongside the paid ones. Buying a pack adds the art to your library, and from there you drag a finished map or individual tiles onto the Map & Background layer and assemble your scene.
The advantages: the art is polished, purchases support working cartographers, and a good pack gets reused across many sessions. The honest drawbacks: packs are generic by necessity, prices add up when every new region of your campaign needs another set, and the specific scene in your notes, the alchemist's basement with the flooded east wing, is usually not in any pack. Expect fifteen to forty-five minutes of browsing and assembly per session, more when you fall down the marketplace rabbit hole. This method suits GMs running classic modules whose locations match what artists actually draw.
Method 3: external map editors, imported as images
Dedicated editors like Inkarnate and Dungeondraft give you full authorship: you place every wall, tree, and torch, then export the finished map as an image and upload it to Roll20 like any other file. This is the craftsman's route, and the results can be stunning.
The advantages are total creative control and a consistent visual style across your whole campaign. The drawbacks are the learning curve, the subscription or license cost of most editors, and above all the time: even experienced users spend one to three hours on a detailed map, and your first few will take longer. If you enjoy map-making as a hobby in itself, this is the most satisfying method on the list. If you are prepping the night before, it is the most dangerous.
Method 4: AI map generation
The newest route is to type a description of the scene and let an AI generator render the finished map in seconds, then upload it to Roll20 as an image. A dedicated Roll20 map maker built on AI, like our Roll20 map generator, produces a strict top-down image with no baked-in grid, which is exactly the format Roll20 wants.
The advantages: it is by far the fastest way to get a custom scene, it handles any environment you can describe in a sentence, and the map matches your notes instead of approximating them. The honest drawbacks: you are directing rather than drawing, so you get less pixel-level control than a full editor gives you, and oddities in a generation are fixed by regenerating rather than by nudging one object. Tools with area regeneration soften that considerably, since you can select just the awkward corner and regenerate it while keeping the rest of the map intact. Budget under a minute to generate and a few minutes to upload and align. For a complete workflow, read our Roll20 battle map generator walkthrough, and if you want to survey the field first, our roundup of the best free AI map generators compares the current options.
Grid setup: making any map line up
Whichever method you choose, the map only plays well if Roll20's grid matches it, and the settings live in the same place for all four. Open the page settings for your map page and check the grid section. Roll20's default grid is 70 pixels per square, and the page size is measured in those squares.
The most reliable approach is to size the page to the map's square dimensions. Decide how many squares your map represents, for example a market square that should play as 30 squares wide by 20 squares tall, and set the page dimensions to exactly 30 by 20 units. Then upload your image to the Map & Background layer and stretch it to fill the page edge to edge. Because the page and the image now describe the same number of squares, the grid falls into alignment without fine-tuning. Misalignment almost always comes from skipping this step and eyeballing the image size instead.
Two refinements help. First, if your source image has its own grid baked in, you will fight double lines forever, which is why clean gridless exports are the standard for AI-generated maps, and our guide on adding a grid to a battle map covers the rare cases where you do want one burned in. Second, for an ungridded image where you are unsure of the intended scale, use a door or a bed as your yardstick: a door is about one square wide, a bed about two squares long. Set your page size from that estimate, and adjust once. If you also run games on Foundry or Owlbear Rodeo, our guide on how to use AI maps in your VTT covers the equivalent alignment steps on each platform, and our head-to-head on Owlbear Rodeo versus Roll20 compares the two setups directly.
Picking the method that fits your table
There is no single right way to create a map in Roll20, only the right way for tonight. If your players just kicked in a door you never planned, sketch it with the drawing tools. If you are running a classic module with conventional locations and you value polished art, the marketplace has you covered. If map-making is part of the hobby for you and the session is a week away, an external editor will produce something you are proud of. And if you need a custom scene that matches your notes before tonight, AI generation is the only method measured in seconds rather than hours.
Most Game Masters end up mixing methods, but the fastest path from imagination to aligned grid is a single sentence of description. Sign up for the Text to Tabletop app today and generate your first custom Roll20-ready battle map in seconds.
Tyler V
Lead Developer and UX Designer at Text to Tabletop. Passionate about helping GMs and players create better TTRPG experiences.
Ready to Forge Your Next Battle Map?
Describe the encounter and get a grid-aligned, top-down battle map in seconds, then regenerate any area until it matches your vision.
Generate Your First Map Free3 free map tokens · no credit card required