Roll20 Battle Map Generator: How to Create Custom Maps with AI
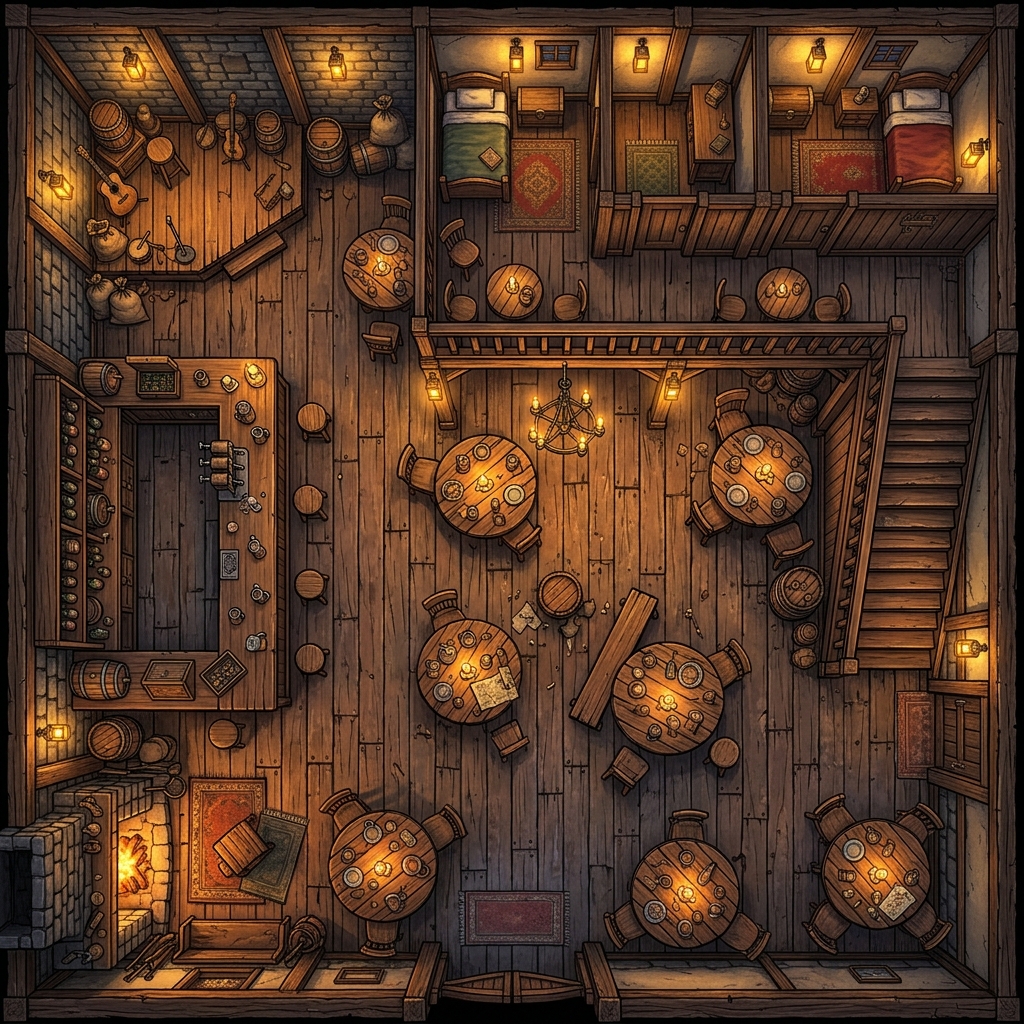
You have spent hours prepping the perfect encounter for tonight's session, but you are stuck scrolling through endless asset libraries trying to find a single map that matches your vision. The premium map packs look incredible, but none of them feature a ruined alchemical laboratory smashed into the side of a frozen volcanic caldera. When your players step into a unique scene, they deserve a backdrop that reflects your storytelling rather than a generic forest clearing that you have recycled three times this campaign. Utilizing a dedicated Roll20 battle map generator bridges the gap between your imagination and the virtual tabletop, allowing you to build tailored environments in a matter of minutes.
Why GMs Need a Roll20 Battle Map Generator
Every Game Master utilizing virtual tabletops eventually hits the marketplace wall. You can find a thousand tavern maps or generic dungeon corridors, but the moment your narrative demands a highly specific location, your options dwindle. If your party decides to investigate the basement of a clockwork tinkerer who secretly worships an ancient sea deity, you will not find that pre-drawn in a standard art pack.
The limitations of traditional asset libraries extend beyond theme. Finding a map with the correct dimensions, lighting, and environmental hazards often requires compromising your original design. You either change the encounter to fit the map you found, or you spend hours modifying a premium asset in an image editor.
A reliable roll20 battle map generator solves this exact problem by shifting the focus from curation to creation. Instead of hunting for a compromised solution, you can generate a roll20 custom map tailored precisely to the tactical needs of your encounter. This ensures your tactical combat remains tightly integrated with your narrative, providing unique encounter art that keeps your players fully immersed in the session.
Three Ways to Get Custom Battle Maps for Roll20
Game Masters have a few distinct pathways for populating their virtual tabletop campaigns with high-quality terrain. Each approach features distinct trade-offs regarding time investment, financial cost, and creative freedom.
Option 1: The Marketplace
The built-in Roll20 marketplace is a fantastic resource for general campaign prep. Buying premium map packs directly supports independent artists, and the art quality is often spectacular. However, this method works best when your campaign follows a highly predictable, classic fantasy module. The moment your players veer off the beaten path, or if you are running a niche tabletop RPG system, the marketplace can leave you empty-handed. Buying a new pack for every single niche encounter also becomes expensive over time.
Option 2: Asset-Placement Tools
Software platforms like Inkarnate or Dungeondraft give you total control over your map design. You place every wall, asset, and lighting source manually. While these tools are excellent for creating intricate layouts, they demand a massive time commitment. Spending three hours painting tree clusters and placing individual chairs is a luxury that busy GMs rarely have during mid-week session prep.
Option 3: AI Battle Map Generators
Using a roll20 ai map generator represents the modern, high-speed alternative for the busy Game Master. Instead of painting maps pixel by pixel, you describe what you need and let the generator handle the heavy lifting. Platforms like Text to Tabletop's Roll20 map generator specialize in this exact process, converting your written descriptions into fully realized tactical environments in seconds. It combines the tailored specificity of asset-placement tools with the instant delivery of the marketplace, making it an incredibly efficient way to keep up with an unpredictable party.
Generating a Roll20-Ready Battle Map with AI
Creating a great tactical map with generative artificial intelligence requires a slightly different approach than generating standard concept art. To get an image that actually functions during combat, follow this recipe-style workflow.
1. Define the Encounter
Before writing your prompt, outline the mechanical needs of the combat space. Consider the tactical elements your players will interact with during the fight:
- Where are the choke points, cover options, and high-ground positions?
- Are there environmental hazards like lava, rushing water, or crumbling ledges?
- What is the approximate size of the space (e.g., a tight 20x20 foot chamber versus a sprawling 100-foot valley)?
2. Write a Specific Structural Prompt
Standard AI art models often struggle with battle maps because they default to cinematic angles, dramatic perspective distortions, and artistic clutter. To get a usable layout, you typically need to include complex perspective cues in your prompt text: keywords like "orthographic projection," "90-degree straight down overhead view," and "tactical map blueprint."
If you want to skip the frustrating trial-and-error process of fighting against standard art generators, you can use the specialized tools at Text to Tabletop. The platform features an automatic 90-degree top-down lock built right into the engine. This feature ensures your generated terrain is perfectly flat and completely free of perspective distortion, making it immediately compatible with virtual tabletop tokens. For a deeper look at crafting the perfect prompt layout, read our comprehensive guide on how to make AI battle maps.
3. Avoid Grids in the Source Image
One of the most common mistakes GMs make is generating an image that already has a grid baked into the artwork. Trying to align a pre-rendered grid with Roll20's digital grid system is an absolute nightmare that usually results in double lines and frustrated players.
Text to Tabletop automatically handles grid stripping alongside NPC stripping during the generation process. This leaves you with clean, uninterrupted terrain textures, allowing the Roll20 software to overlay its own digital grid seamlessly.
4. Export at Proper Resolution
Roll20 calculates its default grid map size using a standard of 70 pixels per square. To keep your maps looking sharp when players zoom in to inspect a specific asset, you want your source image to meet or exceed this requirement. Exporting your generated map at a high resolution ensures that small details remain crisp, even during intense, close-quarters combat scenes.
Importing into Roll20: The 60-Second Method
Once you have generated your custom image, importing it into your active campaign takes less than a minute if you follow the correct sequence.
Step 1: Switch to Map & Background Layer
Step 2: Drag and drop the image onto the canvas
Step 3: Right-click -> Advanced -> Align Grid
Step 4: Click and drag a 3x3 square grid section
Step 5: Adjust total dimensions to match canvas
First, navigate to your Roll20 page toolbar and create a new page. Set your estimated page dimensions in the page settings. Before you drop your file onto the screen, ensure your active layer is set to the Map & Background layer; dropping it onto the Objects & Tokens layer will cause tracking issues later.
Drag your downloaded map file directly from your computer onto the Roll20 canvas. Once the upload finishes, right-click the image, navigate to Advanced, and select Align Grid. The tool will prompt you to click and drag a 3x3 grid section on your map. Since your AI-generated map is clean and ungridded, simply estimate a 3x3 block relative to the overall scale of the map features, or use the automated dimensions box under Advanced Transform to input your exact pixel size. Roll20 will scale the image instantly to match the digital grid lines.
Pro Tips for Better Roll20 Maps
To elevate your new roll20 custom map from a simple background image into an immersive tactical environment, take advantage of the platform's native map tools.
- Utilize the Fog of War: Do not reveal your entire generated map the moment your players step onto the page. Use the basic line-of-sight masking tool to cover hidden chambers, dark corridors, or ambush points, revealing the tactical layout only as your players explore.
- Leverage Dynamic Lighting: If you hold a Roll20 Plus or Pro subscription, you can draw physical boundaries directly over your AI map's walls and structures. Because your generated map is perfectly top-down, drawing these light-blocking paths along the edges of pillars, ruins, or cavern walls is incredibly simple. This prevents players from seeing through solid stone and adds immense tension to dark dungeon crawls.
- Match Zoom Alignments: Always double-check your alignment at a 100% zoom level before your players log in. Sometimes an image looks perfectly aligned when zoomed far out, but looks slightly off-center when you zoom in close. Adjusting the placement beforehand prevents immersion-breaking grid drift during the session.
Troubleshooting Common Issues
Even with a dedicated roll20 battle map generator, you might occasionally run into a technical snag during setup. Here is how to fix the most common map import problems.
| Issue | Root Cause | Solution |
|---|---|---|
| Image looks blurry or pixelated | Low source resolution or extreme zooming | Ensure you export at a high resolution. Avoid stretching a tiny 500px image across a massive 50x50 square canvas. |
| Tokens do not align with the map features | Perspective distortion or angled assets | Use a generator with a strict top-down lock. If an asset was generated at an angle, use the Advanced Transform tool to warp the dimensions slightly until the paths match up. |
| Roll20 rejects the file upload | File size exceeds account limitations | Free Roll20 accounts have a 5MB upload limit per file, while Plus and Pro accounts support larger files. Compress your file to a high-quality JPG or WebP format before uploading to save space. |
If you are looking for more general strategies on optimizing your digital campaigns across various platforms, check out our comprehensive guide on how to use AI maps in VTT systems.
Take Your Campaign Prep to the Next Level
Stop wasting your limited prep time hunting through marketplace pages for a map that only kind of fits your campaign. Your world is unique, and your tactical environments should reflect that. By utilizing an AI-powered tool built specifically for fifth edition compatible games and other tabletop systems, you can create gorgeous, perfectly aligned layouts in seconds. Head over to Text to Tabletop right now to generate your first custom battle map and completely transform your next session.
Tyler V
Lead Developer and UX Designer at Text to Tabletop. Passionate about helping GMs and players create better TTRPG experiences.
Ready to Forge Your Next Battle Map?
Describe the encounter and get a grid-aligned, top-down battle map in seconds, then regenerate any area until it matches your vision.
Generate Your First Map Free3 free map tokens · no credit card required