Foundry VTT Map Setup: From Image to Playable Scene in 5 Minutes
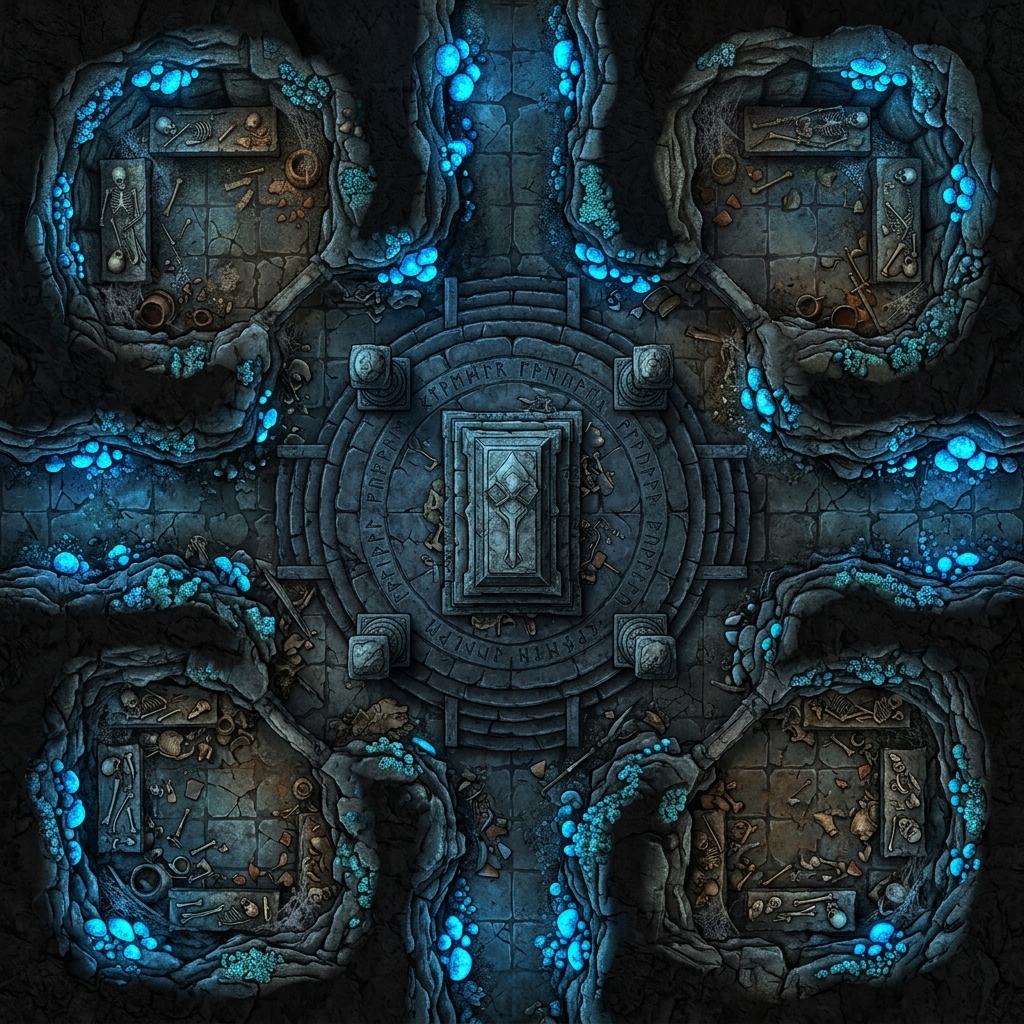
Every Game Master knows the sudden wave of anxiety that hits when players veer off course and head straight toward an unplanned combat encounter. Foundry Virtual Tabletop is one of the most powerful digital platforms available, but that deep functionality often comes with a steep learning curve and tedious preparation times. Instead of spending hours meticulously configuring your next environment, you can streamline your workflow to get your players onto the field in record time. This guide will show you how to take a raw image and turn it into a fully functional, dynamic foundry vtt battle map in under five minutes.
Why Foundry Pairs Well with AI-Generated Maps
Foundry VTT excels at handling high-resolution assets and complex, layered environments. Its robust, native rendering engine truly shines when you feed it a continuous stream of fresh, unique locations. While traditional map packs can feel restrictive or repetitive, utilizing artificial intelligence allows you to generate specific tactical layouts tailored to your exact narrative needs.
The division of labor here is highly efficient: the AI handles the creative heavy lifting by generating the art, while Foundry manages the interactive, playable layer. However, anyone who has tried to import a standard web image into a virtual tabletop knows the headache of dealing with baked-in grids that refuse to align with the software.
This is exactly where using a dedicated generator like Text to Tabletop transforms your preparation. The platform includes an automatic 90-degree top-down lock to ensure perfect tactical perspective, and it completely strips out grids and non-player characters during generation. You receive a clean, unblemished background image that is ready for Foundry's native engine, saving you from the frustration of pixel-hunting during your foundry vtt map import process.
Step 1: Create a New Scene
Your journey begins in the right-hand sidebar of the Foundry interface. Navigate to the Scenes Directory, which is represented by the map icon.
- Click the Create Scene button at the top of the directory.
- Give your scene a clear, descriptive name that fits your campaign adventure.
- Click Create New Scene to open the configuration dialog box.
Once the configuration window opens, you will see several tabs. For a swift setup, you will spend most of your time in the Basics and Grid tabs. In the Basics tab, ensure the scene is activated or kept in navigation if you want to test it before moving your players' tokens onto the canvas.
Step 2: Upload Your AI Battle Map
With your empty scene created, it is time to apply your visual asset. This step handles the core foundry vtt map import.
- In the Basics tab of the scene configuration window, locate the Background Image field.
- Click the file browser button on the right side of the input field.
- Upload your generated image to your User Data folder, keeping your files organized by creating a dedicated folder for campaign maps.
- Select the uploaded image and click Select File.
For optimal performance and visual fidelity, aim for an ideal resolution of around 4096 pixels wide for a standard 25-grid map. This resolution strikes the perfect balance between crisp, high-definition art and fast loading times for players with slower internet connections. Once you select the file, Foundry will automatically detect the image dimensions and adjust the scene width and height to match the asset perfectly.
Step 3: Configure the Grid
Aligning a digital grid over a background image can be a notorious time-sink for GMs. Fortunately, because your source images lack pre-printed grid lines, this phase of your foundry vtt scene setup becomes incredibly simple.
Typical Grid Configurations:
- Low Resolution / Fast Load: 70 pixels per square
- Standard Resolution: 100 pixels per square
- High Resolution (Recommended): 150 pixels per square
Switch over to the Grid tab in your scene configuration. Set your Grid Type to match your game system: square grids are standard for fifth edition compatible games, while hex grids are favored by many tactical tabletop RPG systems like Pathfinder. Next, define your Grid Size. A value between 100 and 150 pixels per grid space is ideal for high-resolution images.
Because there are no baked-in lines on the map to fight against, you do not need to spend ten minutes nudging the scale by fractions of a pixel. Simply choose your desired scale, hit save, and let Foundry overlay its perfectly aligned, crisp digital grid across your beautiful terrain. If you want a more comprehensive look at handling assets across different platforms, check out our guide on how to use AI maps in VTT environments.
Step 4: Add Walls for Line of Sight
Walls are what turn a static image into an immersive, tactical playground. They block token movement and restrict player line of sight, which keeps your fog of war working exactly as intended.
To draw your boundaries quickly, click on the Wall Controls icon in the left-hand vertical toolbar.
- Select the Draw Normal Walls tool for solid structures like stone ruins or dungeon boundaries.
- Left-click at the starting corner of a structure, then left-click again at the next point to chain your walls together smoothly.
- Right-click to break the chain when you finish a section.
- Use Terrain Walls for natural obstacles like large pillars, trees, or boulders; these allow players to see the obstacle itself but block vision through to the other side.
Do not over-complicate this step during live session preparation. You do not need to trace every single crack in a ruined wall. Draw straight, simple lines that approximate the tactical boundaries of the room to save precious minutes.
Step 5: Add Lighting
The final step to bringing your foundry vtt battle map to life is setting the atmosphere. Dynamic illumination transforms a flat image into a living dungeon or an eerie forest.
Click on the Lighting Controls icon on the left toolbar. If your map takes place outdoors during the day, double-click your scene to open settings, navigate to the Lighting tab, and toggle Global Illumination on. This ensures the entire map is visible without requiring individual light sources.
For dark dungeons or nighttime encounters, keep global illumination off and use the Draw Light Source tool instead. Click and drag on the canvas to place torches, magical braziers, or glowing campfires. You can customize the light color, intensity, and even add animations like a realistic flame flicker or a pulsing magical aura. Adjust the ambient darkness slider in the scene configuration to give your players' darkvision a true workout.
Bonus: Module Recommendations
While native Foundry is incredibly powerful, the active developer community provides excellent free modules that can optimize your foundry vtt scene setup even further:
| Module Name | Primary Function | Why It Helps GMs |
|---|---|---|
| DF Scene Enhancement | Streamlines scene navigation and configuration | Reduces the clicks needed to change map settings on the fly |
| Levels | Manages multi-level maps and verticality | Allows seamless tracking of tokens moving up stairs or balconies |
| Active Token Effects | Automates status effects and lighting on tokens | Links token conditions directly to the visual map environment |
Common Pitfalls to Avoid
When racing against the clock, it is easy to trip over a few common configuration mistakes. Keep these quick troubleshooting tips in mind before your players log in:
- Wrong Grid Scale: If your player tokens look like giants or ants compared to the furniture on the map, your grid pixel size is incorrect. Adjust the grid pixel value in your scene settings rather than resizing your tokens.
- Missing Wall Closures: Tiny gaps between wall segments will leak light and vision. Ensure your wall points snap together properly so players cannot peer through solid solid stone.
- Overly Dim Lighting: While moody darkness adds excellent tension, excessive darkness can completely obscure the rich details of your map art. Strike a healthy balance by using soft ambient coloring.
Craft Your Next Encounter Instantly
Setting up an immersive environment does not have to be an administrative chore that takes up your entire evening. By combining Foundry's advanced automation tools with clean, gridless tactical art, you can build memorable encounters in a fraction of the time. If you want to completely eliminate the map prep bottleneck from your workflow, head over to the Text to Tabletop App to generate your own tailored, top-down assets. Ready to experiment with infinite tactical possibilities for your next campaign? Launch the Text to Tabletop web application today and experience the future of session preparation.
Tyler V
Lead Developer and UX Designer at Text to Tabletop. Passionate about helping GMs and players create better TTRPG experiences.
Ready to Forge Your Next Battle Map?
Describe the encounter and get a grid-aligned, top-down battle map in seconds, then regenerate any area until it matches your vision.
Generate Your First Map Free3 free map tokens · no credit card required